Make your own DIY Mouse Ear Headband with this simple tutorial – all you need is some kraft board, a headband and hot glue! You can make it using your Cricut machine or just cutting out the pattern yourself – we have both the SVG and PDF available!
I don’t know about you, but I’m wishing I could be in Disneyland right now.
We had a trip scheduled for November, but unfortunately, we lost hope that Disneyland would somehow open, and we ended up cancelling that trip.
But that doesn’t mean I can’t make mouse ears still, right?!
I have been wanting to make DIY Mouse Ears with. my Cricut for awhile now, and since it’s Halloween time, I thought it would be the perfect time.
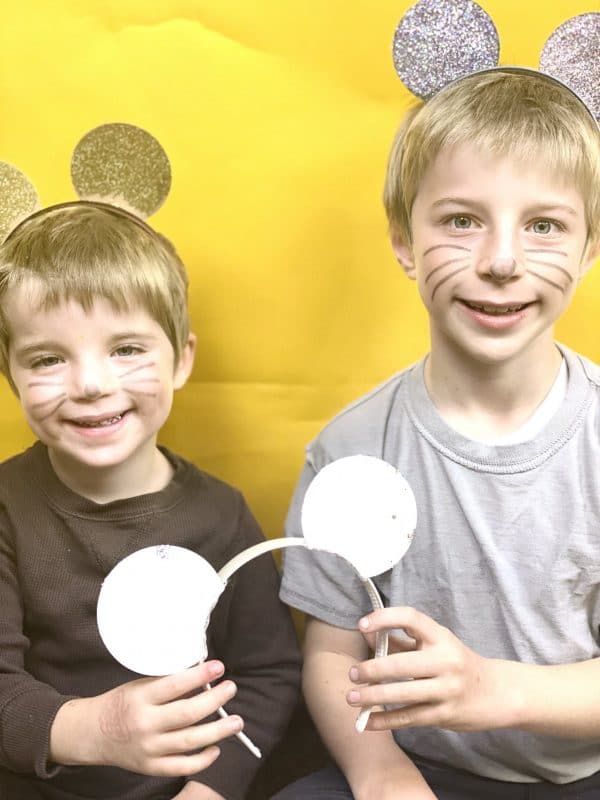
You can wear these ears to celebrate your love of Disney or just to make a fun, last-minute costume. They are so easy to make – my kids thought they were so fun! Just draw some whiskers and a nose, and you’re good to go with an awesome costume!
I have provided a PDF pattern and an SVG file as well. You will want to use the SVG File if you are making these with your Cricut machine (or another personal cutting machine). You can upload it and adjust to your preferred size.
If you are cutting these out by hand, you will just need to print out the PDF pattern. The only issue with the PDF pattern is that you can’t really adjust it very well if you have different sized headbands – however, these should work on most standard-sized headbands.
Click below for this free download:
We bought our headbands from Joann’s. They had TONS of colors and sizes, and they aren’t very expensive. I would imagine most craft stores have them.
You could also buy some on Amazon or head to The Dollar Tree to see what you can find!
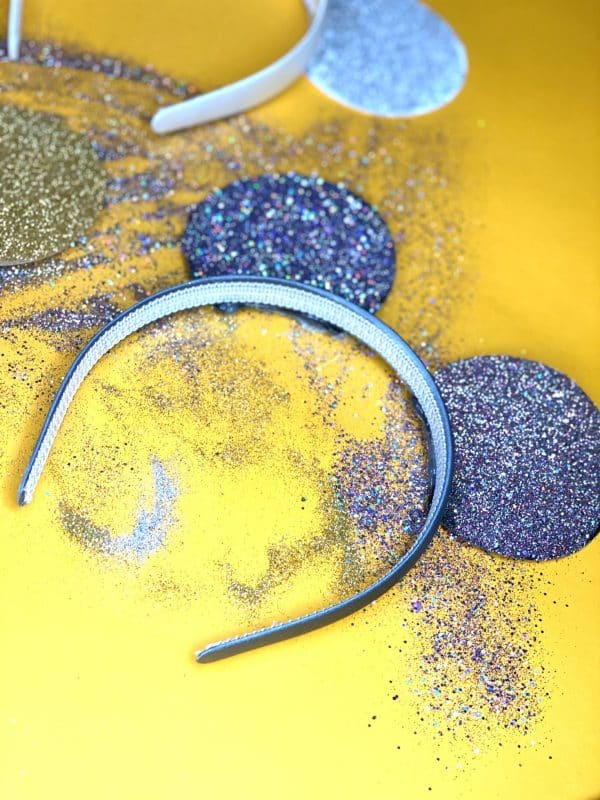
For these mouse ears, I chose to use kraft board. It’s pretty sturdy, but if you want something that is a little thicker, you may want to use chipboard – or you could even glue two pieces of chipboard together.
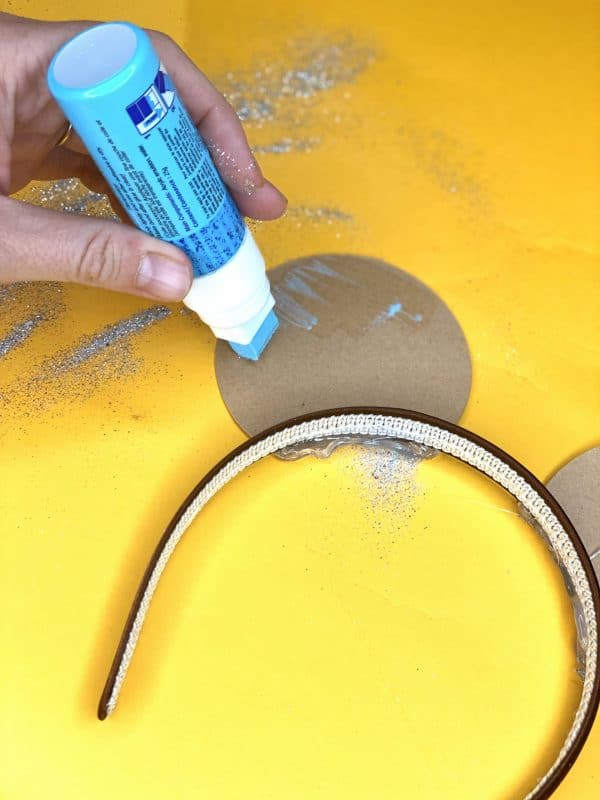
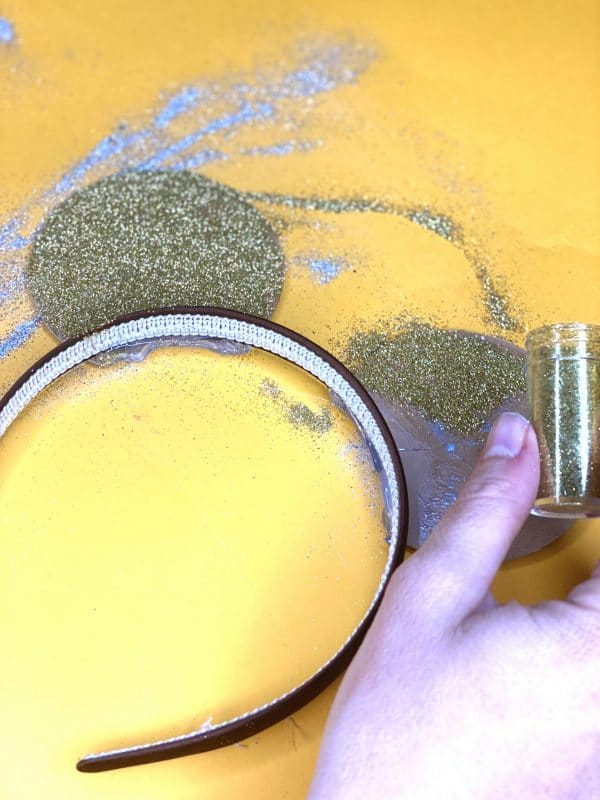
These aren’t the fanciest or sturdiest mouse ears around, but they are a lot of fun and you can easily customize them with glitter, paint, vinyl…whatever your heart’s content is!
Upload the SVG file to Design Space.
Adjust to be the right size for your head band. I sized mine to be 3.23×3.24, and it was perfect!
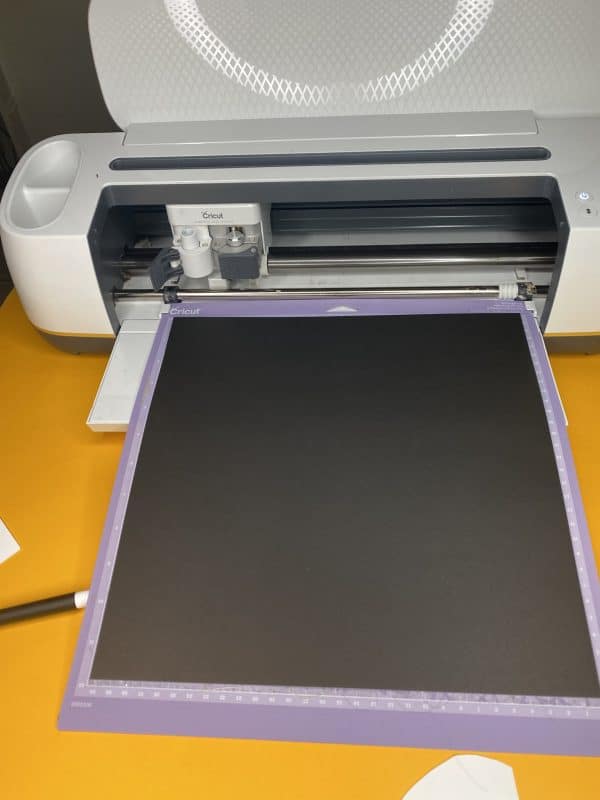
Press make it, preview the mat, and select kraft board as your material.
Place the kraft board on your cutting mat and load into the machine.
Press Go and let the machine cut out the ears.
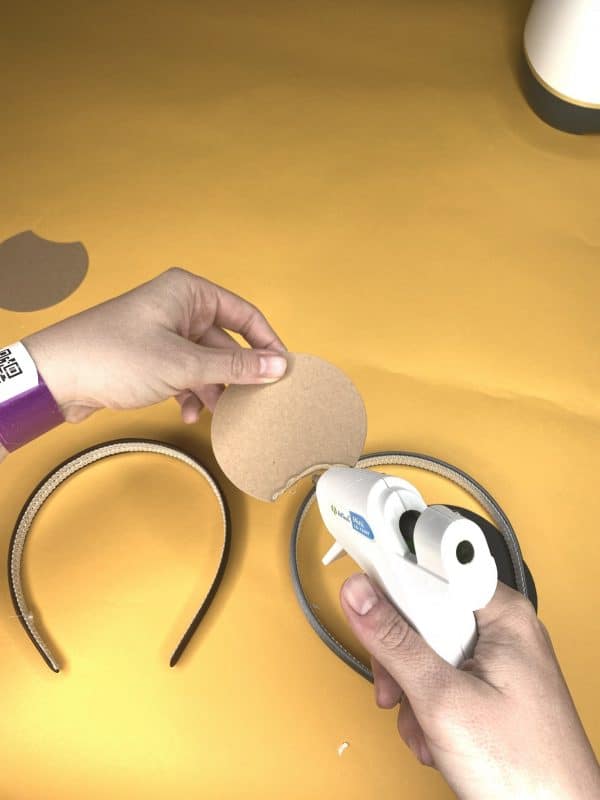
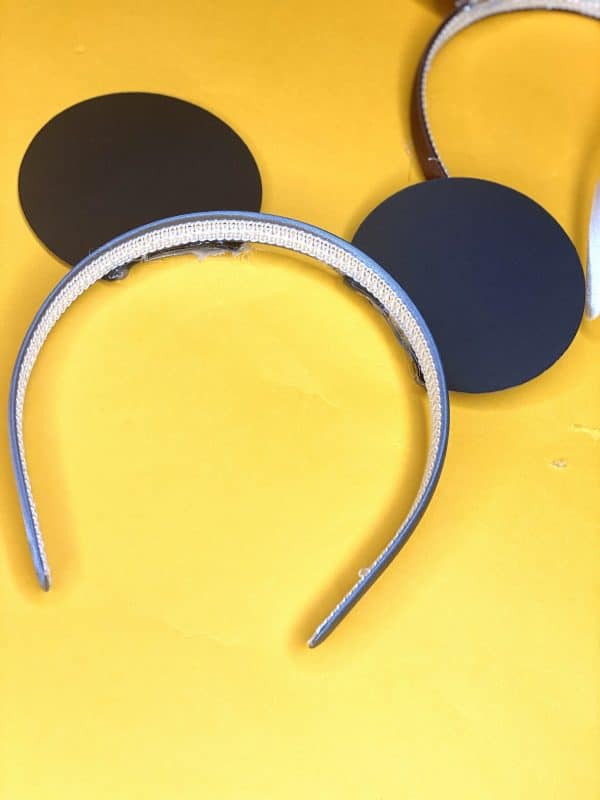
Hot glue to your head band.
Print out the PDF and cut out each piece.
Trace onto kraft board and cut out kraft board.
Glue ears to headband using hot glue
![]()